Installing and Configuring Wine: Use Windows Programs in Ubuntu

Wine was initially intended as a Windows emulator for Linux. However, WineHQ does not " emulate " a full Windows environment within Linux, but simply provides the necessary libraries and instructions to compile the binaries for the Microsoft system. Therefore, the acronym of this software has been changed to "Wine Is Not an Emulator".

This software can load applications from Windows 3.x to Windows 10, both in 16 and 32 or 64 bits. It has practically all the official libraries of the Microsoft system, and it allows us to easily import our own libraries in case we need to create a program with special dependencies. It also has a graphics acceleration system that allows you to draw application windows and play games.
Wine has become one of the essential programs for any user of Ubuntu or any other Linux distro. And this is how we can install and configure it.
Download and install Wine
The first thing we need to do when using a 64-bit Ubuntu is to enable 32-bit support as it is disabled by default. We can do this very easily by opening a terminal and running the following command in it:
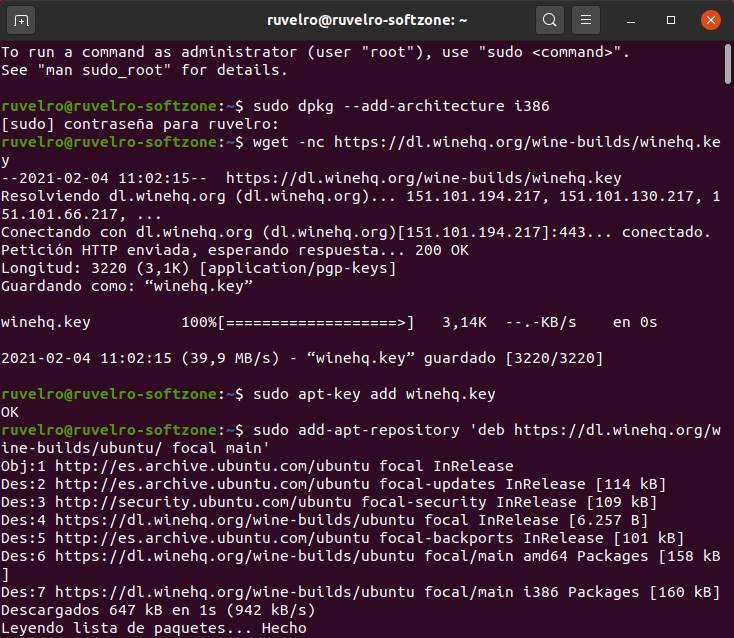
sudo dpkg --add-architecture i386
And then we will update the repositories (optional):
sudo apt update
The next step will be import the WineHQ key into our system in order to add the repository and download the most recent versions of the software. Wine can be installed from many repositories, although we highly recommend always using the official one. We download the key with the following command:
wget -nc https://dl.winehq.org/wine-builds/winehq.key
And to add the key to the system, we run the following command in the same terminal:
sudo apt-key add winehq.key
Now we are going to add the repository that corresponds to our version of Ubuntu. We have used the Ubuntu 20.04 repository, but if we are using a different version (or edition, such as Linux Mint), we need to add the corresponding repository. These can be consulted via the Wine website .
Ubuntu 20.04 or Linux Mint 20.x
sudo add-apt-repository 'deb https://dl.winehq.org/wine-builds/ubuntu/ focal main'
Ubuntu 20.10
sudo add-apt-repository 'deb https://dl.winehq.org/wine-builds/ubuntu/ groovy main'
Old versions: Ubuntu 18.04 or Linux Mint 19.x
sudo add-apt-repository 'deb https://dl.winehq.org/wine-builds/ubuntu/ bionic main'
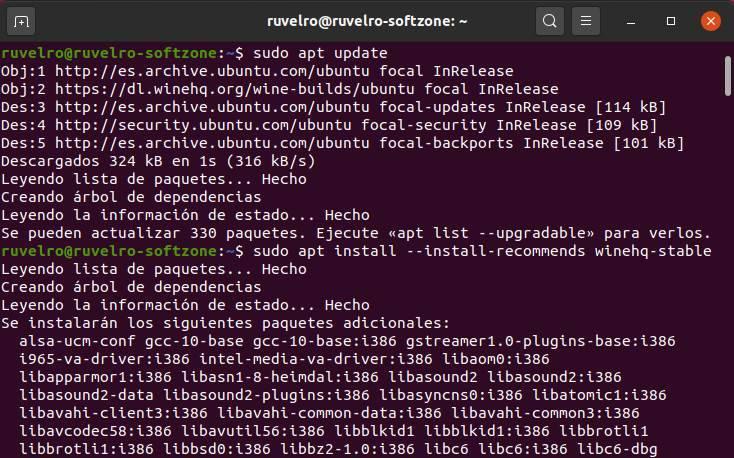
And we're updating our system's repositories again with:
sudo apt update
We already have the software resources ready. All you need to do is install the version that we want , we recommend to install the stable branch, because it contains more debugging and less problems.
Stable
sudo apt install --install-recommends winehq-stable
Development version
sudo apt install --install-recommends winehq-devel
Trial version
sudo apt install --install-recommends winehq-staging
When the installation process is complete, we will have Wine ready on our PC. We can check if it is installed, and the version that is installed, with the following command:
wine --version

Simple alternative
The above method is the recommended method to install this tool. If we prefer, we can use the version that is in Ubuntu's own repositories. We will just run the following command to download and install this version.
sudo apt install wine64
This will be installed on our PC automatically without having to do all of the above, although it is very easy to find an outdated version of Wine. Therefore, we recommend using the above method.
Configure Wine
Initial Setup
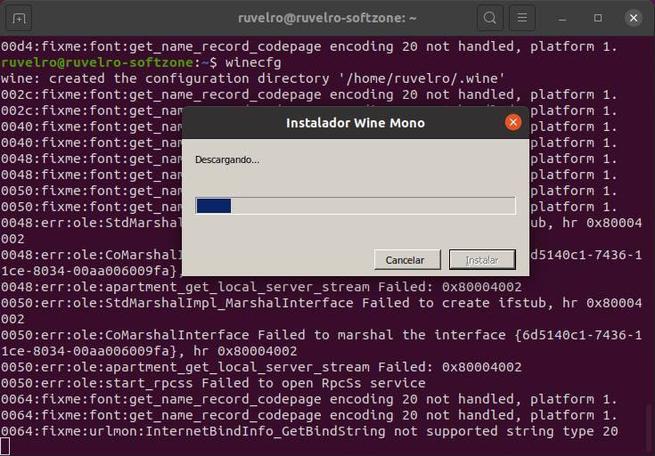
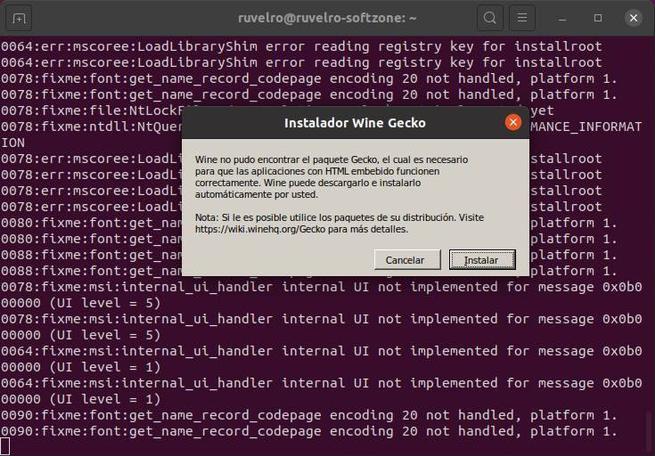
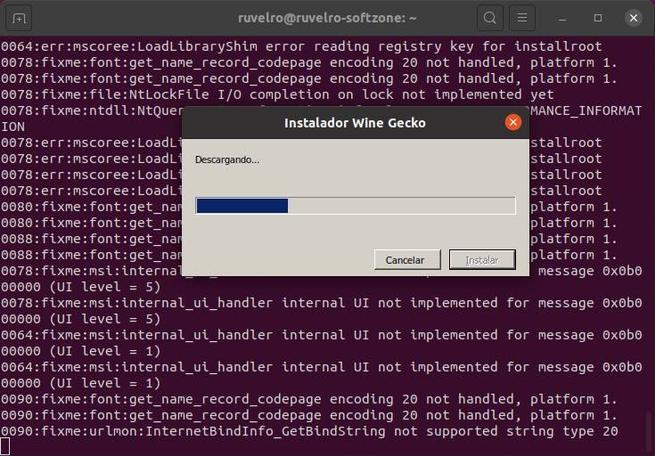
We have already installed Wine on our Ubuntu distro. But before you start using it, you need to make a first configuration of the tool. In this configuration, the system is prepared to run Windows apps and certain components (such as Wine-Mono or Gecko) required for certain elements, such as .NET, to work are downloaded.
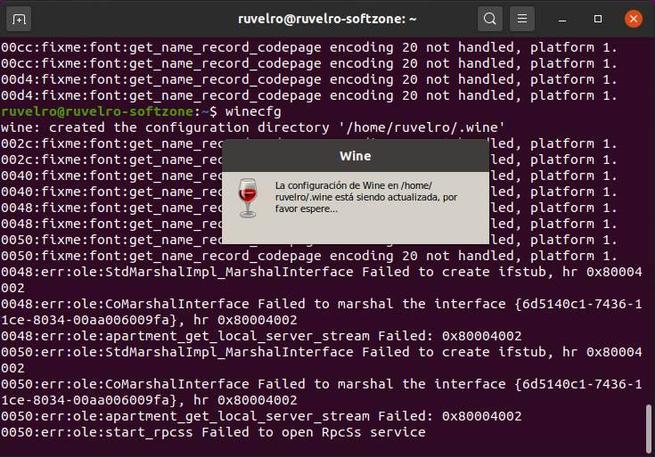
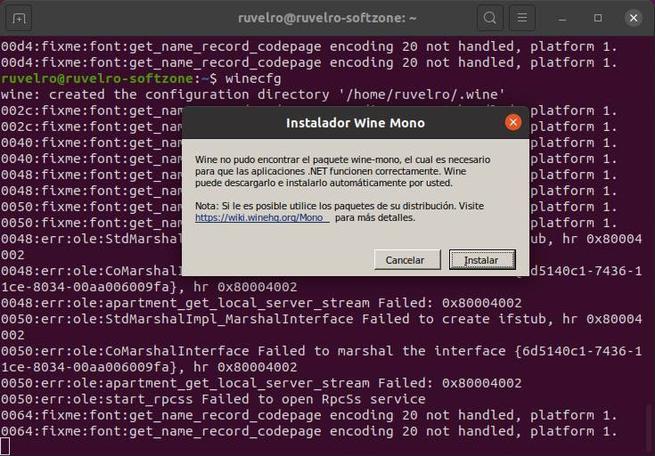
To start this initial configuration, we will run the following command:
winecfg
We will see a window indicating that the program is being configured. We wait for it to finish, or until we see a window asking us for permission to install dependencies. We all click on the "Install" button so that the wizard itself takes care of downloading and copying everything necessary.
Wine options
When the process is complete and everything is ready on our PC, we can see the Wine configuration window. This window has 7 tabs that allow us to configure the different aspects of this tool.
Applications
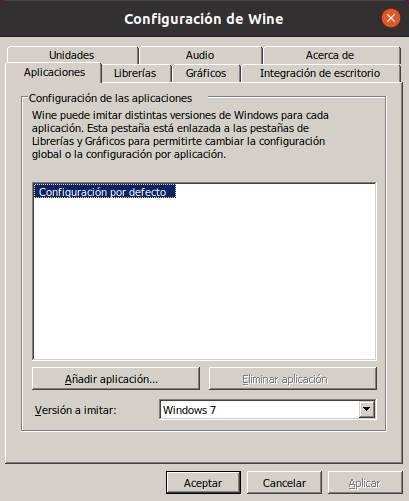
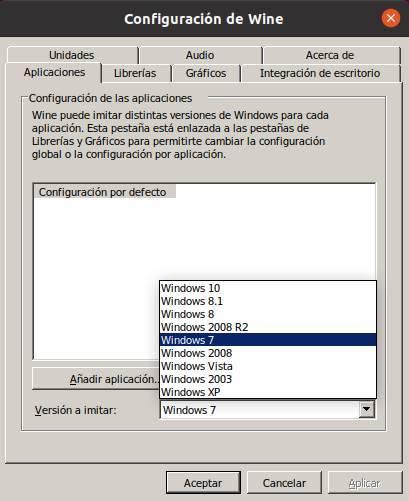
Wine allows us to simulate all versions of Windows. In this way, if we have software that can only run on a specific version of Windows, we can load the libraries of that version and replace the OS version for each one. We can configure a default version, which is used in all programs, and add specific EXE files to give each a version.
bookstores
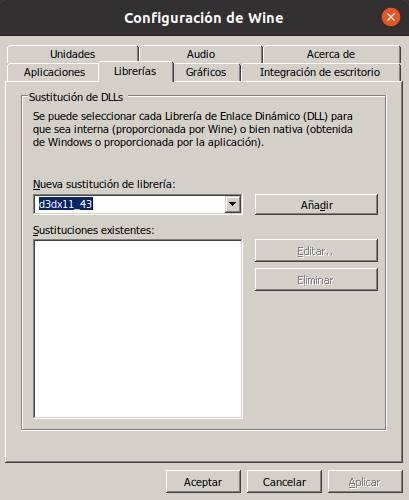
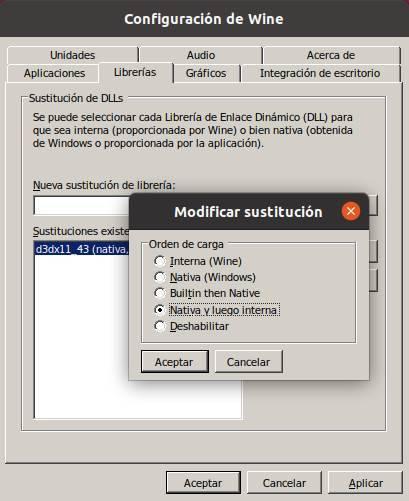
From this section we can configure how we want the libraries to be used. We can have the native programs that Wine provides use by default, or have each program use its own program (if it has one) or the libraries we copy from a Windows version or Internet downloads.
graph
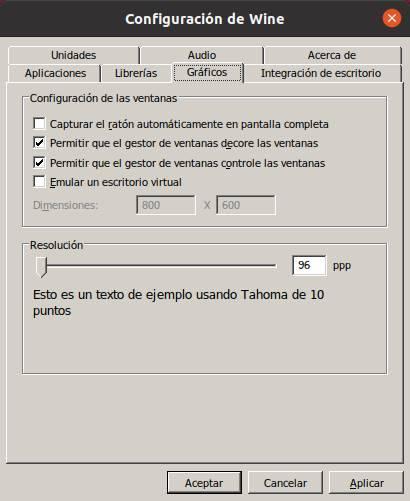
From this section we can configure how we want the windows or images of the applications we run to be drawn. We can choose whether we want the mouse to be captured in it, emulate a virtual Windows desktop so that the program runs on it, and even window decorations. We can also choose the font size.
Desktop integration
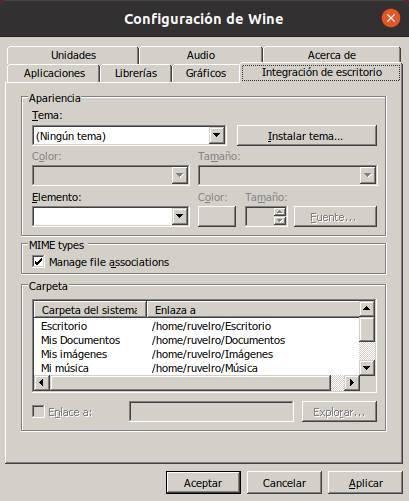
It allows us to install and configure various desktop themes, as well as configure the typical operating system personal folders where the data generated with these programs opened from Wine is stored.
Units
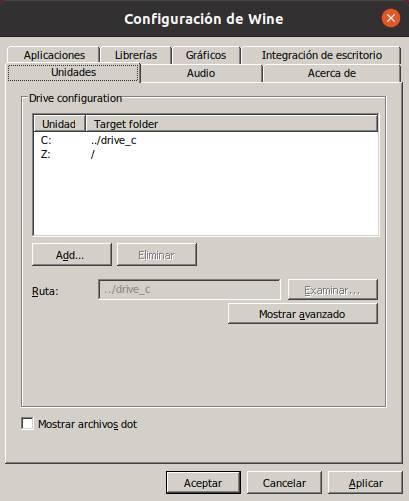
From this section we can configure the different mount points that we want the Wine applications to recognize. Each of these mount points (which can be drives or just folders) are recognized as hard drives connected to the PC.
audio
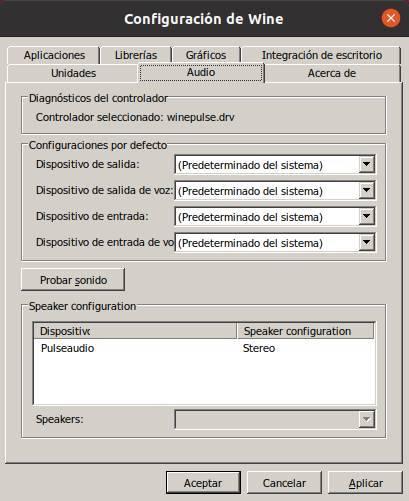
It allows us to control the sound driver used and configure the audio input and output devices.
About us
As the name implies, this tab allows us to see the version of the program we have installed. It is not used to configure anything.
Open a Windows program in Linux
Now that we have Wine installed and we know how to configure it, we just need to know how to use it. This program is integrated into Ubuntu by default so that it automatically recognizes and opens the .exe and .msi files by double clicking them. Same as in Windows. We can also open these files from the context menu by right clicking on them.
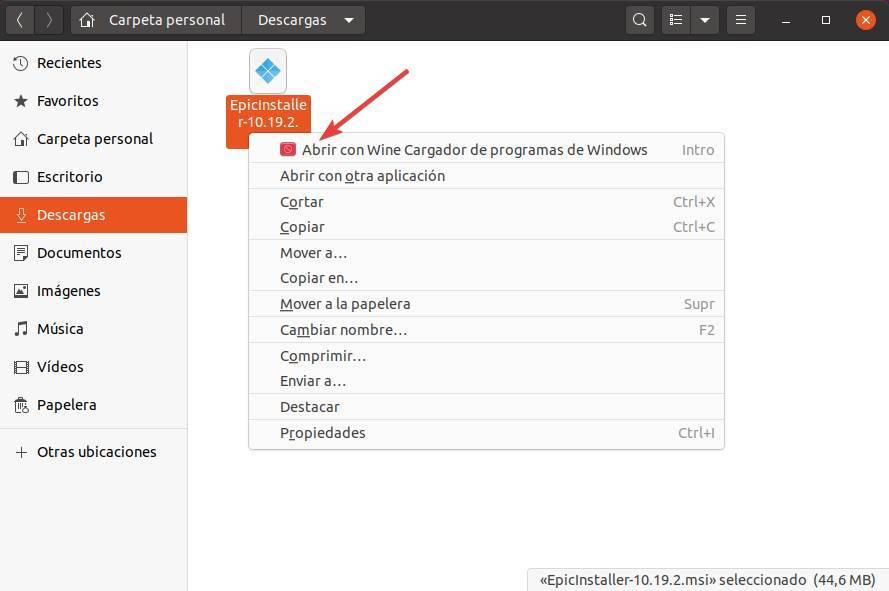
Wine takes care of everything. We will have to follow the wizard as if we were installing the program in Windows and when it is done we will have the software ready to run.

Remove Wine
Wine is very useful, but it must also be admitted that it is quite a heavy program And if we install a lot of dependencies on the PC (like .NET, for example), it can also take up a lot of space. Therefore, if we are not going to use this program, we can easily remove it. To do this, we just need to run the following command (change "stable" to the version we installed earlier):
sudo apt-get remove –purge winehq-stable
The system itself allows for complete deactivation and removal of the entire program. We also need to manually delete the following cache and configuration folders to free up space. We need to make sure that the hidden files are shown with the keyboard shortcut Control + R.
- .wine (in our personal folder)
- ./.wine
- ./.config/menus/applications-merged/ (any directory starting with "wine")
- ./.local/share/applications/wine
- /.local/share/desktop-directories/wine*
- ./.local/share/icons/ (all .xmp files)
Once we have deleted all these files, we need to run the following commands to finish removing Wine from PC:
sudo apt update sudo apt autoclean sudo apt clean sudo apt autoremove
And finally, we can manually remove the repository we added from the software sources of this Linux.