How to add Google Adsense to your WordPress Website
Are you looking to add Google Adsense to your WordPress site? Google Adsense is a free and easy way to make money on your website by displaying targeted Google Ads.

In this article, we'll show you how to properly add Google Adsense to your WordPress site, as well as a quick guide to tracking your ad performance with Google Analytics.
What is Google Adsense?
Google Adsense is a popular advertising network operated by Google that allows you to easily add Google ads to make money on your website. It's a cost-per-click (CPC) program where you get paid for every click that users make on your site's ads.
Google Adsense provides the easiest way to monetize your website; you just need to paste a small snippet of code into your site and Google will do the rest.
First, the Adsense spiders will crawl your site to determine your site's content and then place relevant ads in the ad units on your site. When people start clicking on ads, you start making money.
The process of receiving payments is simple because you don't need to deal with advertisers. Google works with advertisers, charges them and sends you a percentage of the money they raise. Google charges a small percentage of the money as management fees.
Now let's see how to add Google Adsense to your WordPress site in 3 easy steps.
Step 1. Create a Google Adsense account and connect it to WordPress.
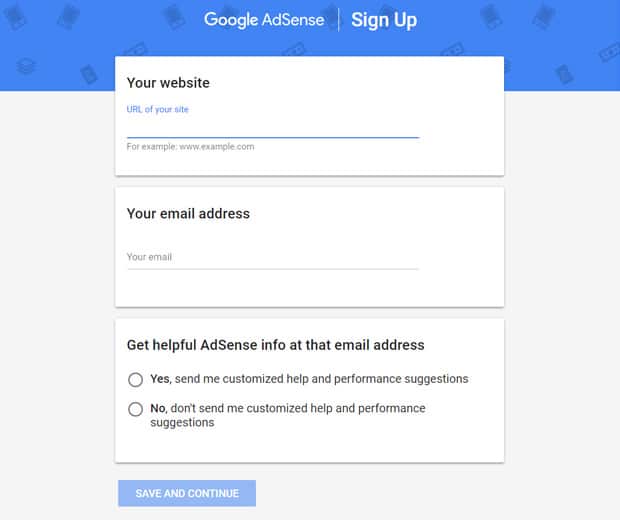
First, you need to sign up for a Google Adsense account by going to the Google Adsense website. Click the Register Now button to begin the registration process.

On the next page, you will need to enter your website URL and email address. Then choose if you want to receive useful Adsense information to your email address by selecting the option you want and clicking the " Save and Continue" button .
You will then need to select your country of residence and check the " Terms and Conditions" box to proceed. Finally, click the " Create Account " button .
If you see your Google Adsense homepage, it means you have created your Adsense account. After that, the next step is to activate your account.
On the AdSense homepage, you will find 2 tasks you need to complete in order to activate your AdSense account:
- First, you need to provide your billing address.
- Second, you need to connect your WordPress site to Adsense.
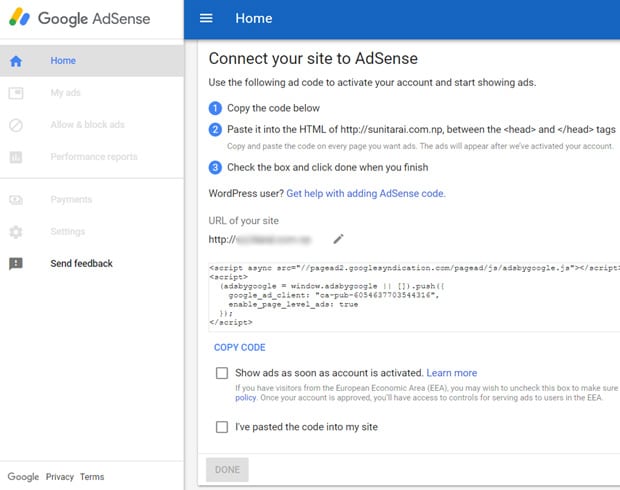
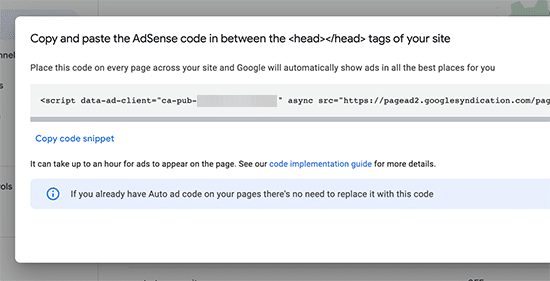
To connect your site to Adsense, you need to add a HTML snippet to the header of your WordPress site. You will find this code on your Adsense homepage. Copy the code.
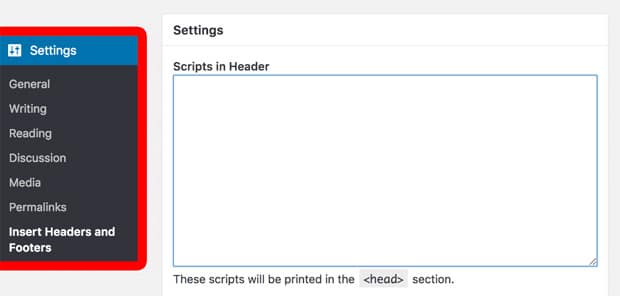
To add the code, you need to log into your WordPress dashboard and install the Insert Headers and Footers plugin. The plugin allows you to safely insert code into your theme's header and footer without editing your theme file.
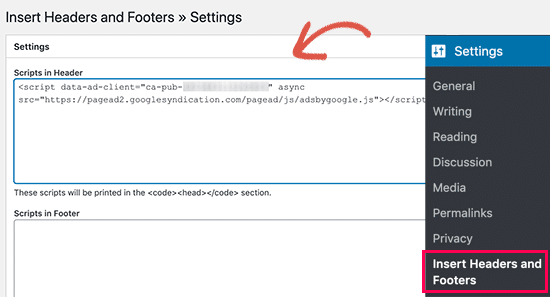
After installing the plugin, you can go to Settings, Insert Headers and Footers, and paste the HTML code in the header field.
Now that you've added the code to your site header, go back to your Google Adsense account home page and click the I pasted code into my site box . Then click the Finish button .

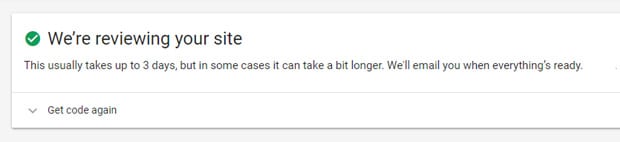
You will then see a short notification from Google Adsense that they are viewing your site. This is completely normal, but it means you have to wait. The activation process usually takes a day. But for some sites, it can take up to a couple of weeks.
Note. Sometimes Google cannot activate your account if your site does not comply with the Adsense program guidelines.
Step 2. Allow AdSense to add automatic ads in WordPress
AdSense has introduced a new feature that automatically adds Adsense ads to your site. By adding this code, AdSense determines the best ad location, size and type to use on your WordPress site.
This is now useful for newbies who don't have the time or experience to add individual ads to their website. But the downside to this method is that you have less control over the placement of ads on your site.
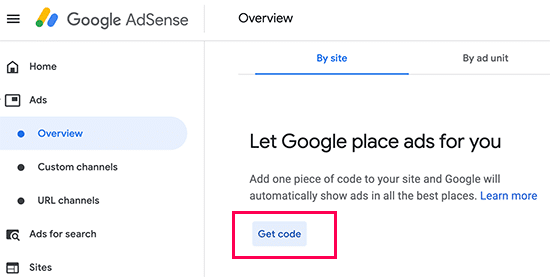
However, you can get started by logging into your Adsense account. Then go to the Ads tab and you will see the Get Code option .
Then AdSense will generate a code for your website. You can copy this code as you will need to add it to your site.
Now, to add this code, you can use the Insert Headers and Footers plugin again. Just go to Settings> Insert Headers and Footers and paste the code into the header section.
You can also add this code manually to the header section of your WordPress theme. But if you update or change your theme in the future, your Adsense code will disappear and you will have to add it again.
On the other hand, what if you want to create an ad of your choice and place it on your website? Read on to find out ...
Step 3. Add Google Adsense Ads to WordPress Manually
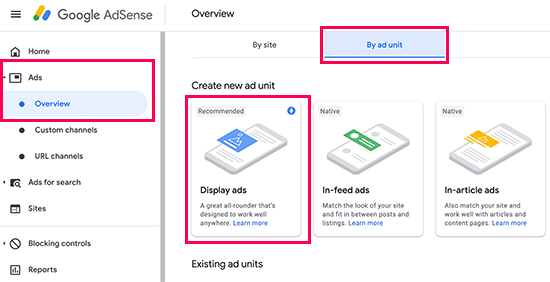
To create an ad in Google Adsense, you need to go to Ads » Browse and then click By ad unit .
Then you will need to create a new ad unit . You can choose from different types of ads, such as display, feed, or article.
We recommend using display ads, and if you're not sure which type to choose, use display ads.
Next, you need to name your ad unit and choose the ad size you prefer. There are different options such as square, horizontal or vertical.
When it comes to ad size, you can choose responsive or fixed. We recommend that you select Responsive as this will ensure your ads work properly on any type of device.
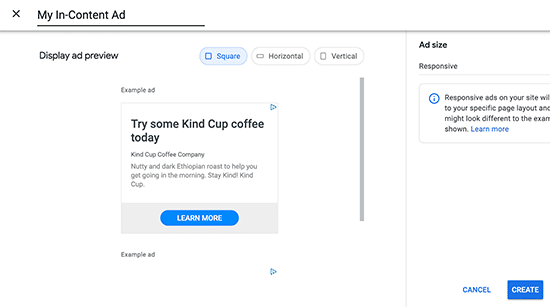
When you are satisfied with your settings, click Create .
AdSense will then generate a code that you can then add to your WordPress website.
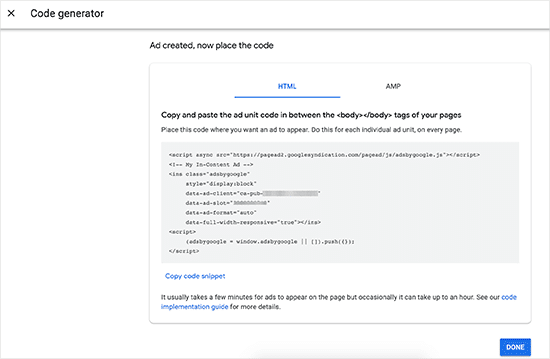
Now copy the ad code or save it in a safe place.
Then you will need to choose the location where you want to place your ad.
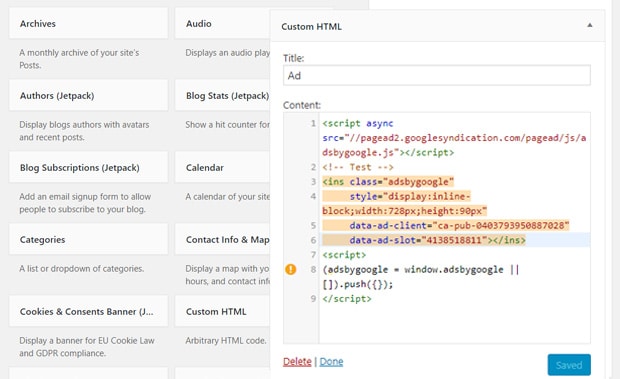
Advertisements are usually displayed in sidebars and other widget areas such as your site's footer. You can easily add Google ad code to your site's sidebars and other widget areas using the Custom HTML widget .
First, log into your WordPress site. Then go to Appearance »Widgets page from the control panel. Then drag the Custom HTML widget to the selected widget area, such as the right sidebar. Paste the Google Adsense code you copied in the previous step into the box. Don't forget to click the " Save" button .
This is it! You can now visit the interface of your website and see what the ad looks like.
Now let's see how you can track the performance of your Google Adsense ads.
Tracking Adsense Banner Ads in Google Analytics
With Google Adsense, you can make good money with little effort. So, a little extra effort to improve the way your ads appear can really boost your earning potential.
Tracking the performance of your Adsense ads gives you comprehensive data on how your site visitors interact with your ads. Using this data, you can improve your advertising strategies and increase your income.
To properly track your Google Adsense ads, we recommend that you use the MonsterInsights plugin.

MonsterInsights is the best and most beginner-friendly powerful Google Analytics plugin for WordPress available on the market.
It comes with a powerful ad tracking addon to help you properly track the performance of your Adsense ads.
With MonsterInsights Ad Tracking, you can track your CTR to see how many clicks each ad gets. You can then determine the best performing placements on your website.
To be able to track your Adsense ads, you need to set up Google Analytics in WordPress using MonsterInsights.
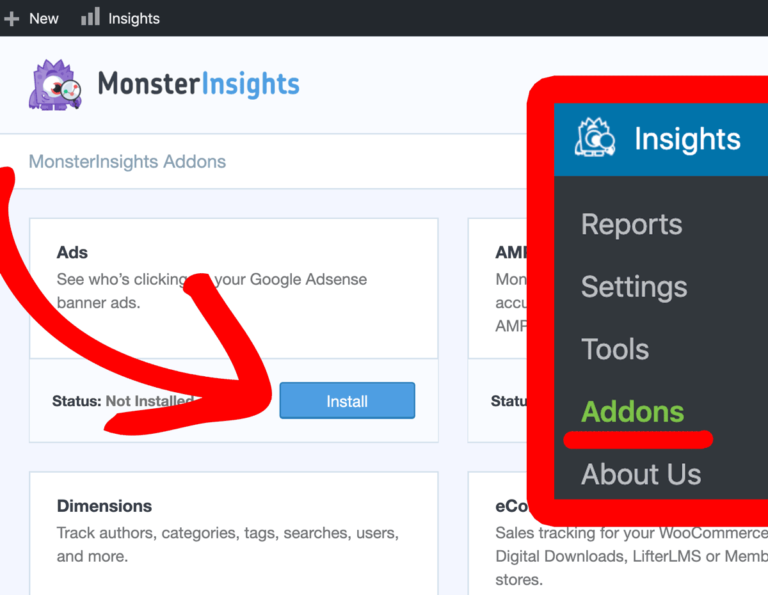
Next, you need to install the ad tracking add-on and enable Google Adsense tracking. To do this, go to Insights »Addon» Ads and click Install .
After installing and activating the add-on, you can enable AdSense tracking by going to Insights »Settings» Publisher, and then click on " Enable Google AdSense Tracking" under "Ad Tracking".

For detailed instructions, check out our step-by-step guide to tracking Adsense in Google Analytics.
After setting up your WordPress ad tracking, you can view the Adsense performance reports in Google Analytics.
That's all!